Podman Desktop Setup with GPU Support (Windows 11 & Fedora Linux)
Table of contents
Introduction
Unleash the power of daemonless containers with Podman and the intuitive Podman Desktop GUI. This guide provides the fastest path to GPU-accelerated containers on Windows 11 (via WSL 2) and Fedora Linux. Podman offers a rootless, secure Docker alternative while maintaining CLI compatibility, and when paired with NVIDIA GPU support, becomes a powerhouse for AI/ML workloads.

Key points :
- NVIDIA Driver 550+ with enhanced WSL2 integration
- Podman 5.0+ native CDI support
- Fedora 42 compatibility
- CUDA 12.5+ optimization
Windows 11 Installation (WSL2)
![]()
Prerequisites
- Windows 11 23H2+ (Build 25992 or later)
- NVIDIA GPU (RTX 2000 series+) with Driver 550+ (https://www.nvidia.com/en-us/drivers/)
- 8GB+ RAM free for WSL
- PowerShell admin access
Step 1: Optimized WSL2 Setup
(powershell)
Enable WSL and install latest kernel
wsl --install --no-distribution
wsl --update --pre-release
Install Fedora 42
wsl --install -d Fedora-42
wsl --set-default Fedora-42
Create %USERPROFILE%.wslconfig file with:
[wsl2]
memory=10GB
processors=6
Step 2: Podman & Desktop Installation
(powershell)
Install Scoop package manager
Set-ExecutionPolicy RemoteSigned -Scope CurrentUser
irm get.scoop.sh | iex
Install Podman components
scoop bucket add extras
scoop install podman podman-desktop
Initialize machine with GPU pre-config
podman machine init --cpus 4 --memory 8192 --now
Step 3: GPU Acceleration Setup
(powershell)
Configure NVIDIA inside WSL
podman machine ssh << 'EOL'
sudo dnf config-manager --add-repo https://nvidia.github.io/libnvidia-container/stable/rpm/nvidia-container-toolkit.repo
sudo dnf install -y nvidia-container-toolkit
sudo nvidia-ctk cdi generate --output=/etc/cdi/nvidia.yaml
EOL
Restart to apply changes
podman machine stop
podman machine start
Verification & Testing
(powershell)
Test GPU access
podman run --rm --device nvidia.com/gpu=all nvidia/cuda:12.5.1-base-ubuntu22.04 nvidia-smi
Expected output:
+---------------------------------------------------------------------------------------+
| NVIDIA-SMI 550.54                 Driver Version: 550.54       CUDA Version: 12.5     |
|-----------------------------------------+----------------------+----------------------+
...
Automation Script (setup-podman-win.ps1)
(powershell)
param([string]$Distro = "Fedora-42")
Write-Host "Installing Podman Desktop with GPU support..."
wsl --install --no-distribution
wsl --update --pre-release
wsl --install -d $Distro
wsl --set-default $Distro
if (-not (Get-Command scoop -ErrorAction SilentlyContinue)) {
    Set-ExecutionPolicy RemoteSigned -Scope CurrentUser
    irm get.scoop.sh | iex
}
scoop bucket add extras
scoop install podman podman-desktop
podman machine init --cpus 4 --memory 8192 --now
podman machine ssh @"
sudo dnf install -y https://nvidia.github.io/libnvidia-container/fedora38/amd64/nvidia-container-toolkit.repo
sudo dnf module install -y nvidia-container-toolkit
sudo nvidia-ctk cdi generate --output=/etc/cdi/nvidia.yaml
"@
Write-Host "Podman Desktop with GPU support installed successfully!"
Write-Host "Launch Podman Desktop from Start Menu to begin"
Fedora Linux Installation
![]()
![]()
Prerequisites
- Fedora Workstation 42
- NVIDIA GPU with proprietary drivers
sudo dnf install akmod-nvidia xorg-x11-drv-nvidia-cuda
sudo reboot
Step 1: Podman & Desktop Installation
(bash)
Install Podman and dependencies
sudo dnf install -y podman toolbox
Install Podman Desktop via Flatpak
flatpak remote-add --if-not-exists flathub https://flathub.org/repo/flathub.flatpakrepo
flatpak install -y flathub io.podman_desktop.PodmanDesktop
Step 2: GPU Optimization
(bash)
Configure NVIDIA Container Toolkit
sudo dnf config-manager --add-repo https://nvidia.github.io/libnvidia-container/stable/rpm/nvidia-container-toolkit.repo
sudo dnf install -y nvidia-container-toolkit
Generate CDI spec with latest optimizations
sudo nvidia-ctk cdi generate --format=yaml --output=/etc/cdi/nvidia.yaml
Enable podman-compose support
sudo dnf install -y podman-compose
Verification & Testing
(bash)
Verify GPU access
podman run --rm --device nvidia.com/gpu=all nvidia/cuda:12.5.1-base-ubuntu22.04 nvidia-smi
Expected output:
+---------------------------------------------------------------------------------------+
| NVIDIA-SMI 550.54                 Driver Version: 550.54       CUDA Version: 12.5     |
|-----------------------------------------+----------------------+----------------------+
...
Test AI workload (optional)
podman run --rm --device nvidia.com/gpu=all pytorch/pytorch:2.2.0-cuda12.1-cudnn8-runtime python -c "import torch; print(torch.cuda.is_available())"
Automation Script (setup-podman-fedora.sh)
(bash)
#!/bin/bash
echo "Starting Podman Desktop setup..."
sudo dnf install -y podman podman-compose toolbox
flatpak remote-add --if-not-exists flathub https://flathub.org/repo/flathub.flatpakrepo
flatpak install -y flathub io.podman_desktop.PodmanDesktop
sudo tee /etc/yum.repos.d/nvidia-container-toolkit.repo <<EOL
[nvidia-container-toolkit]
name=NVIDIA Container Toolkit
baseurl=https://nvidia.github.io/libnvidia-container/stable/rpm/$basearch
gpgcheck=1
gpgkey=https://nvidia.github.io/libnvidia-container/gpgkey
EOL
sudo dnf install -y nvidia-container-toolkit
sudo nvidia-ctk cdi generate --output=/etc/cdi/nvidia.yaml
echo "Installation complete!"
echo "Access GPU with: podman run --rm --device nvidia.com/gpu=all nvidia/cuda:12.5.1-base-ubuntu22.04 nvidia-smi"
Performance Optimization Tips
Windows WSL2
GPU Memory Allocation: Add to .wslconfig:
[wsl2]
gpuMemory=2GB
Disk Performance: Store images in WSL distro:
(powershell)
  podman machine ssh
  mkdir ~/container-storage
  podman system connection default unix:///home/$USER/podman/podman.sock
Fedora Linux
Native OverlayFS:
(bash)
 sudo dnf install -y fuse-overlayfs
 echo 'driver = "overlay"' | sudo tee -a /etc/containers/storage.conf
GPU Monitoring:
(bash)
sudo dnf install -y nvtop
Troubleshooting Guide
| Issue | Windows Fix | Fedora Fix |
|---|---|---|
| GPU not detected | wsl --shutdown then podman machine reset | sudo nvidia-modprobe then sudo systemctl restart nvidia-persistenced |
| CDI errors | podman machine ssh sudo nvidia-ctk cdi generate -f | sudo dnf update nvidia-container-toolkit |
| Performance issues | podman machine init --cpus 6 --memory 12288 | Enable IOMMU in BIOS and sudo dnf update kernel |
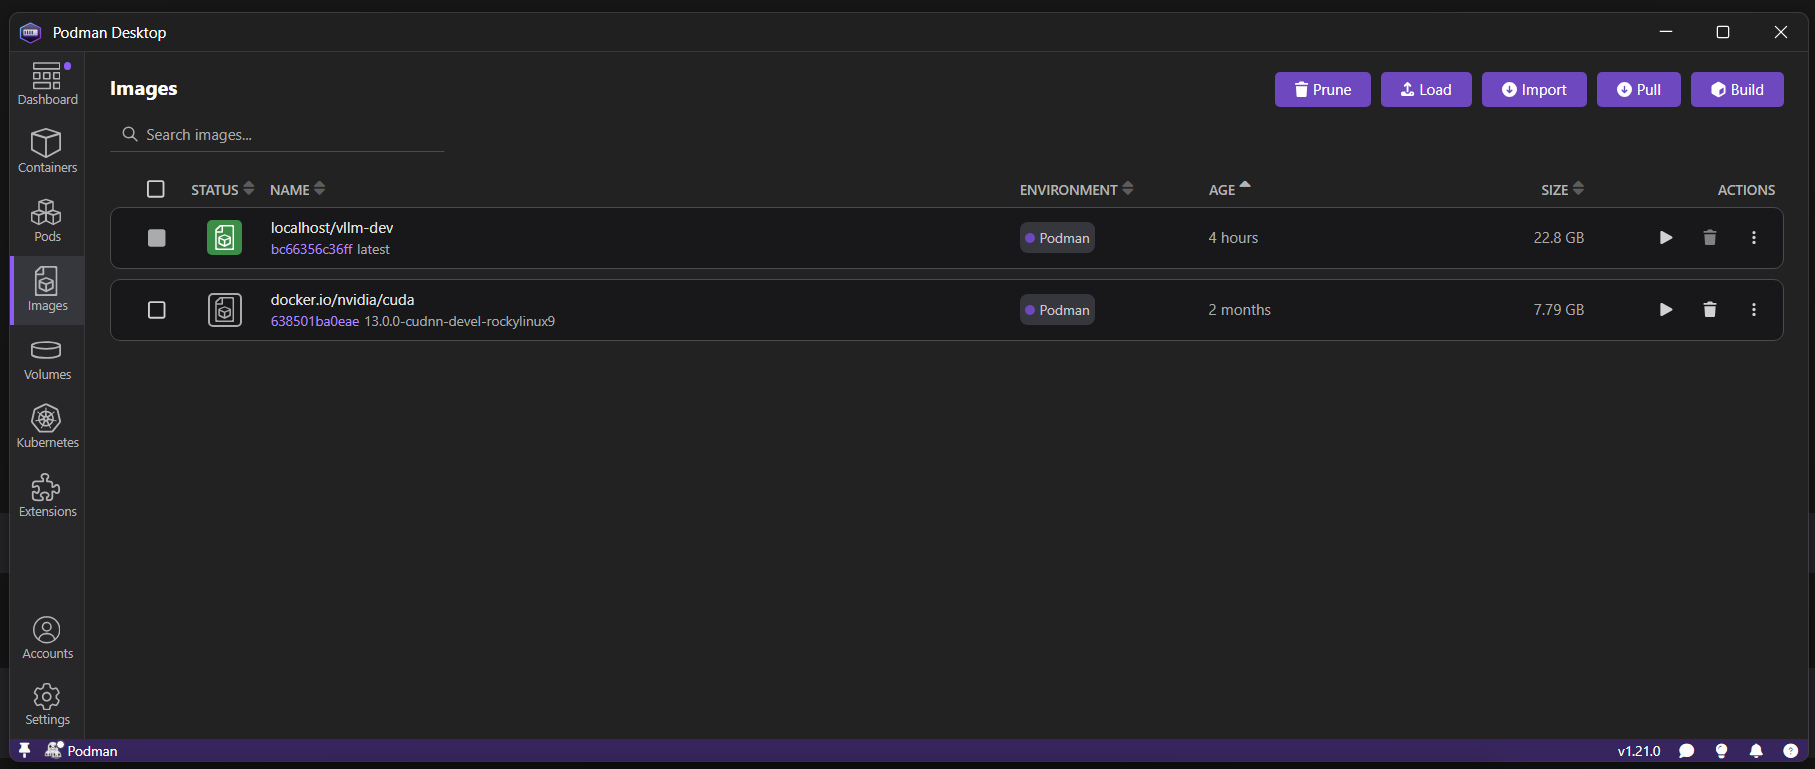
Screenshots

Conclusion
This guide provides the optimal path to GPU-accelerated containers on both Windows 11 and Fedora Linux. The automation scripts simplify setup while the performance tips ensure maximum throughput for AI/ML workloads. With Podman Desktop's latest Kubernetes integration, you can seamlessly transition from local development to cluster deployment.
Key Advantages:
- Faster container launches with Fedora 42's kernel
- Improved GPU utilization with NVIDIA Driver 550+
- Unified management experience across platforms
For ongoing optimization, monitor:
- NVIDIA Container Toolkit GitHub: https://github.com/NVIDIA/nvidia-container-toolkit
- Podman Desktop Releases: https://podman-desktop.io/docs/releases
Optional : Combine with Red Hat's Ansible Lightspeed (https://www.redhat.com/en/engage/ansible-lightspeed) for AI-assisted container orchestration